How to Shoot a Revolver
Good shots are made, not born
Fred Mastison
• 8 min read
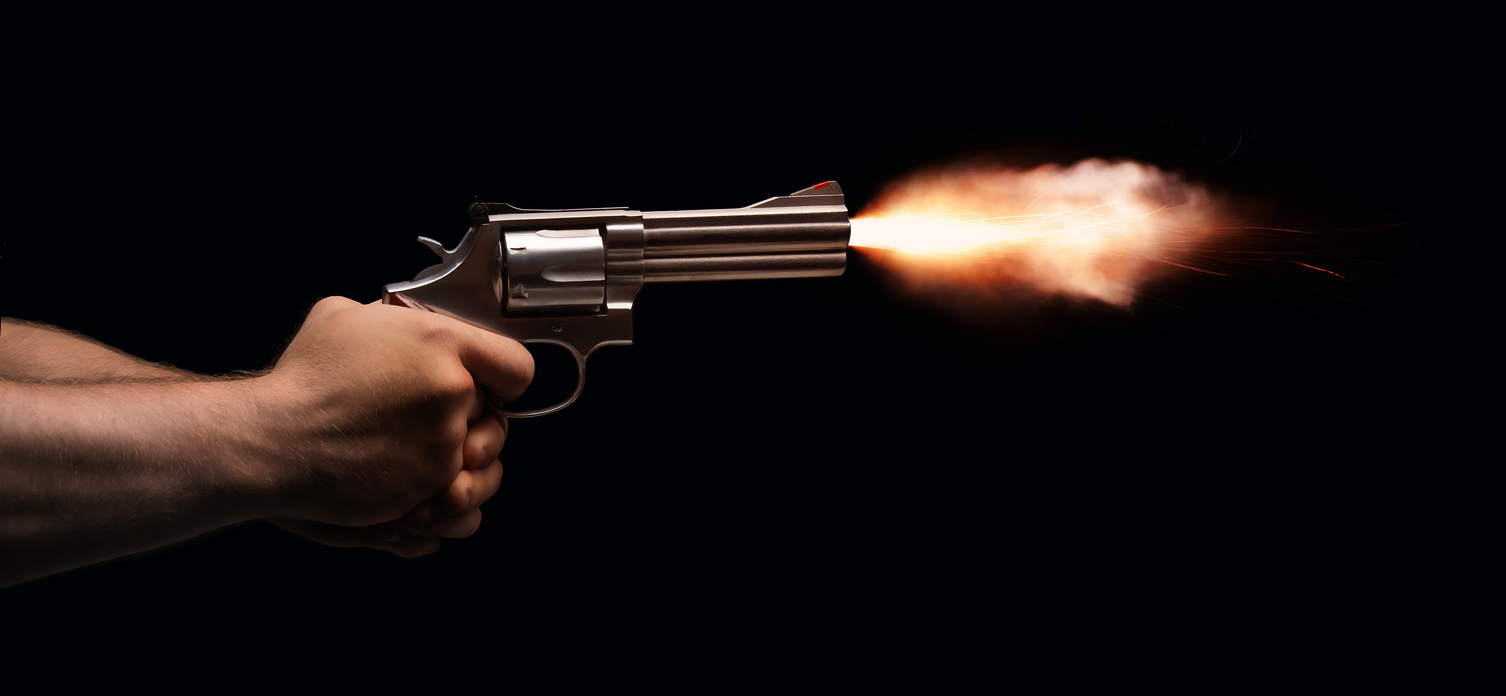
Simple and reliable, revolvers are relatively small and have a short sight radius. This can make accurate aiming a challenge. Throw in the fact that most stock triggers require pressure equivalent to twice the weight of the gun to fire and things get more challenging. But with training and practice, you can master the revolver. To help you get started, let’s take a look at how to shoot a revolver. If you are new to shooting, review the basic rules of gun safety.
Loading and Unloading
You are now at your designated shooting area and ready to roll. Always bear in mind that safe loading and unloading of a revolver is your responsibility. If you exhibit unsafe loading and reloading skills, the range most likely will ask you to leave the premises. You can find detailed tutorials on YouTube, but in brief, here’s how to do it correctly.
First, make sure you have the right ammo. That done, make sure the gun’s hammer is uncocked. Now, with the gun pointing in a safe direction, wrap your shooting hand around the grip. Do not place your finger inside the trigger guard. The non-shooting hand wraps around the gun in front of the trigger guard, below the barrel. Open the cylinder (the exact process depends on the model of gun; check the operating manual for details). Once the cylinder is open and you have access to all the chambers, you may begin the loading process. For safety reasons, many ranges allow you to load only five of the six chambers. Once loaded, rotate the cylinder so that the empty chamber aligns with the barrel when it’s fully inserted into the frame.
To unload, grip the revolver according to the steps outlined above. With the muzzle pointed up, open the cylinder and press down on the ejector to release the spent cases. Before you close the cylinder, make sure every chamber is empty.
Now, let’s move into the technical side of shooting.
Grip
Let’s start with the grip. A good grip on the revolver is critical if you are to enjoy any sort of accuracy. While there are several versions out there, the best grip will have the barrel in line with the bones in your forearm. The web of your shooting hand should be high on the back of the gun. The fingers of your support hand will wrap over the top of your strong-side hand and your thumb is wrapped over your strong-side thumb. You can also put this thumb in the back of the gun below the hammer. The goal is to avoid the cylinder gap. The cylinder gap is the space between the revolver’s cylinder and the frame and barrel. This area experiences spent gas at high velocity and can cause serious injury if your thumb is sitting in front of it. This hand placement will create a full 360-degree grip with no weak spots or openings.
Stance
Next up is stance. As with grip, there are numerous stances you can use. The stance I teach to new shooters is simply what I call a fighting stance. This is the same stance you would take if someone pushed you to the point where you were going to have to fight them. Your support-side foot is forward, and your strong-side foot is back about shoulder-width. Your shoulder blades are turned just slightly away from the target. You will extend your arms forward with the gun in hand. You should be extended, but not completely locked out. Your shoulders should be engaged, but not wrapped up around your ears. Lean just slightly forward onto the balls of your feet as if you were ready to fight.
Sight Picture
Now that you have your gun up, you need to look at your sight picture and sight alignment. “Sight picture” is everything you see when you look down the barrel of your gun. This includes your sights and the target. The correct sight picture for handgun shooting can seem counterintuitive, however. While you generally want to look at your target, it is important that you focus primarily on the front sight. A good sight picture would consist of a slightly blurry rear sight, a crystal-clear front sight, and a slightly blurry target. Now, you align your sights. The correct alignment will have the front sight positioned in the middle of the rear sight notch with equal light space on each side. The top of the front sight will be level with the surface of the rear sight. This orientation of your sights will allow you to hit your target consistently and accurately.
Trigger Time
Target acquired, it’s time to pull the trigger. Pressing the trigger is one of the most challenging parts of accurate shooting. As I mentioned earlier, it can sometimes take up to 5 pounds of pressure to run a stock trigger. This can translate into a little extra motion in the gun and possibly even a large dip in the muzzle. Finger placement on the trigger is important. The trigger should rest on the middle to the inner third of the last pad of your index finger. You will now begin to press the trigger directly to the rear. You want a smooth and continuous motion. A smooth and consistent trigger press is the key to keeping your shots on target. If you rush or jerk the trigger at the end, your shots will miss regardless of how good your sight work is.
Conclusion
The skills required to expertly run a revolver are numerous. As with anything you take seriously, professional training is a must. While you may have been shooting since you were “knee-high to a grasshopper,” it is a good idea to have a pro offer some tips and advice. Be patient with yourself, and judge yourself based on your performance and improvement. It may take some time, but with effort, you can master the revolver.
FAQs
Q: Is a revolver “snappy”?
A: Because of their generally smaller size and mass, some revolvers produce more felt recoil. This is oftentimes referred to as being “snappy.” The laws of physics are at play, and the bigger the revolver, the less felt recoil you will experience.
**Q: Are revolvers 100 percent reliable? **
A: While revolver reliability has reached almost mythical status, they are still mechanical devices and, as such, have issues from time to time. It is important to properly maintain and clean your revolver to minimize any issues.
Q: Are revolvers good for personal defense?
A: Long before the likes of Glock and striker-fired guns came along, the revolver was the go-to for personal protection. They were carried by thousands of police agencies and militaries around the world. Even today, the revolver in trained hands is a solid personal-protection firearm.
Q: I have a 357 Magnum, but it’s hard to shoot. How do I practice?
A: The 357 Magnum can be a challenging round to fire in a long training session. A vast majority of these revolvers, though, will accept 38 Special rounds. They fit in the cylinder just as the larger 357 Magnum does, and produce much less recoil. This makes training a little more pleasant and affordable.
Q: Is it better to have a very lightweight revolver?
A: There is a distinct trade-off when you go to a superlight revolver. While they are much more comfortable to carry because of their reduced size and weight, they are poor at absorbing recoil. This is a personal decision: It depends on what balance you are willing to strike between size, weight, and recoil. Whatever you carry, you must train with it in order to use it in a self-defense situation. Lightweight revolvers tend to be less enjoyable to train with, and in turn, user skill levels are lower.